OUR TIPS
How to take care of your tools?
All our tools are built to stand up to life in a busy kitchen and with a little bit of extra TLC they will serve you well for many years.
We really hope you enjoy your Oui Chef kit. Please get in touch with the Oui Chef team hello@ouichef.kitchen or on WhatsApp via our website if you have any issues or require further information.
CARE GUIDE
Tweezers

Service
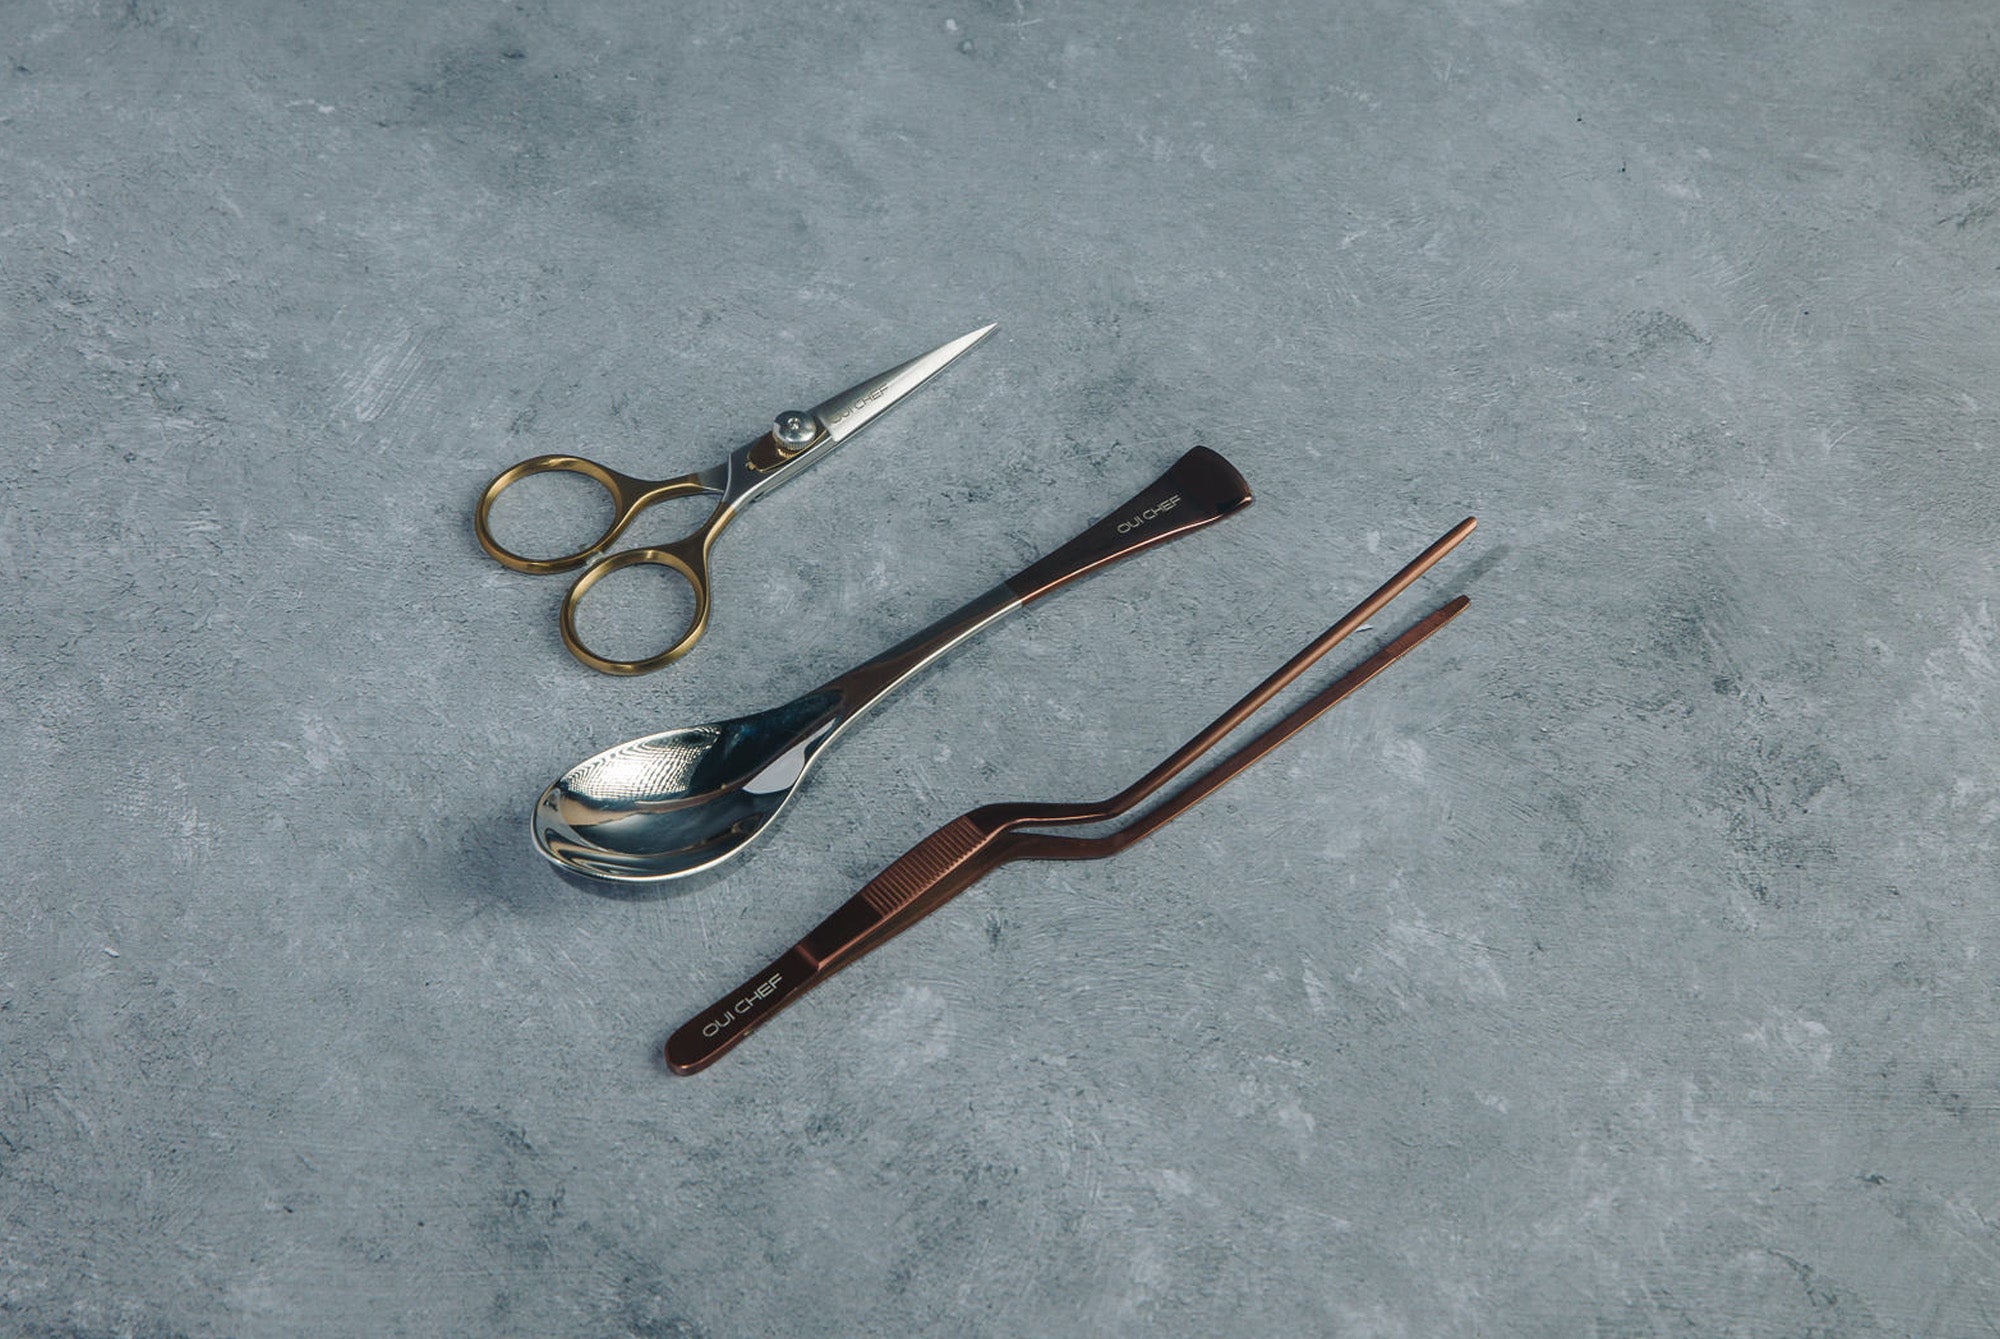
Wear your tweezers with pride hooked on your apron or in your sleeve of your whites - this will help prevent them getting scratched in your busy kitchen. (see our apron magnet). They will withstand high temperatures but immersing in boiling oil over prolonged periods and scraping them off the bottom of pans is not recommended.
Cleaning
We recommended gently hand washing your tools in warm soapy water, using a soft cloth rather than an abrasive sponge, rinsing and drying carefully. Don’t let them see the inside of a dishwasher.
Storage
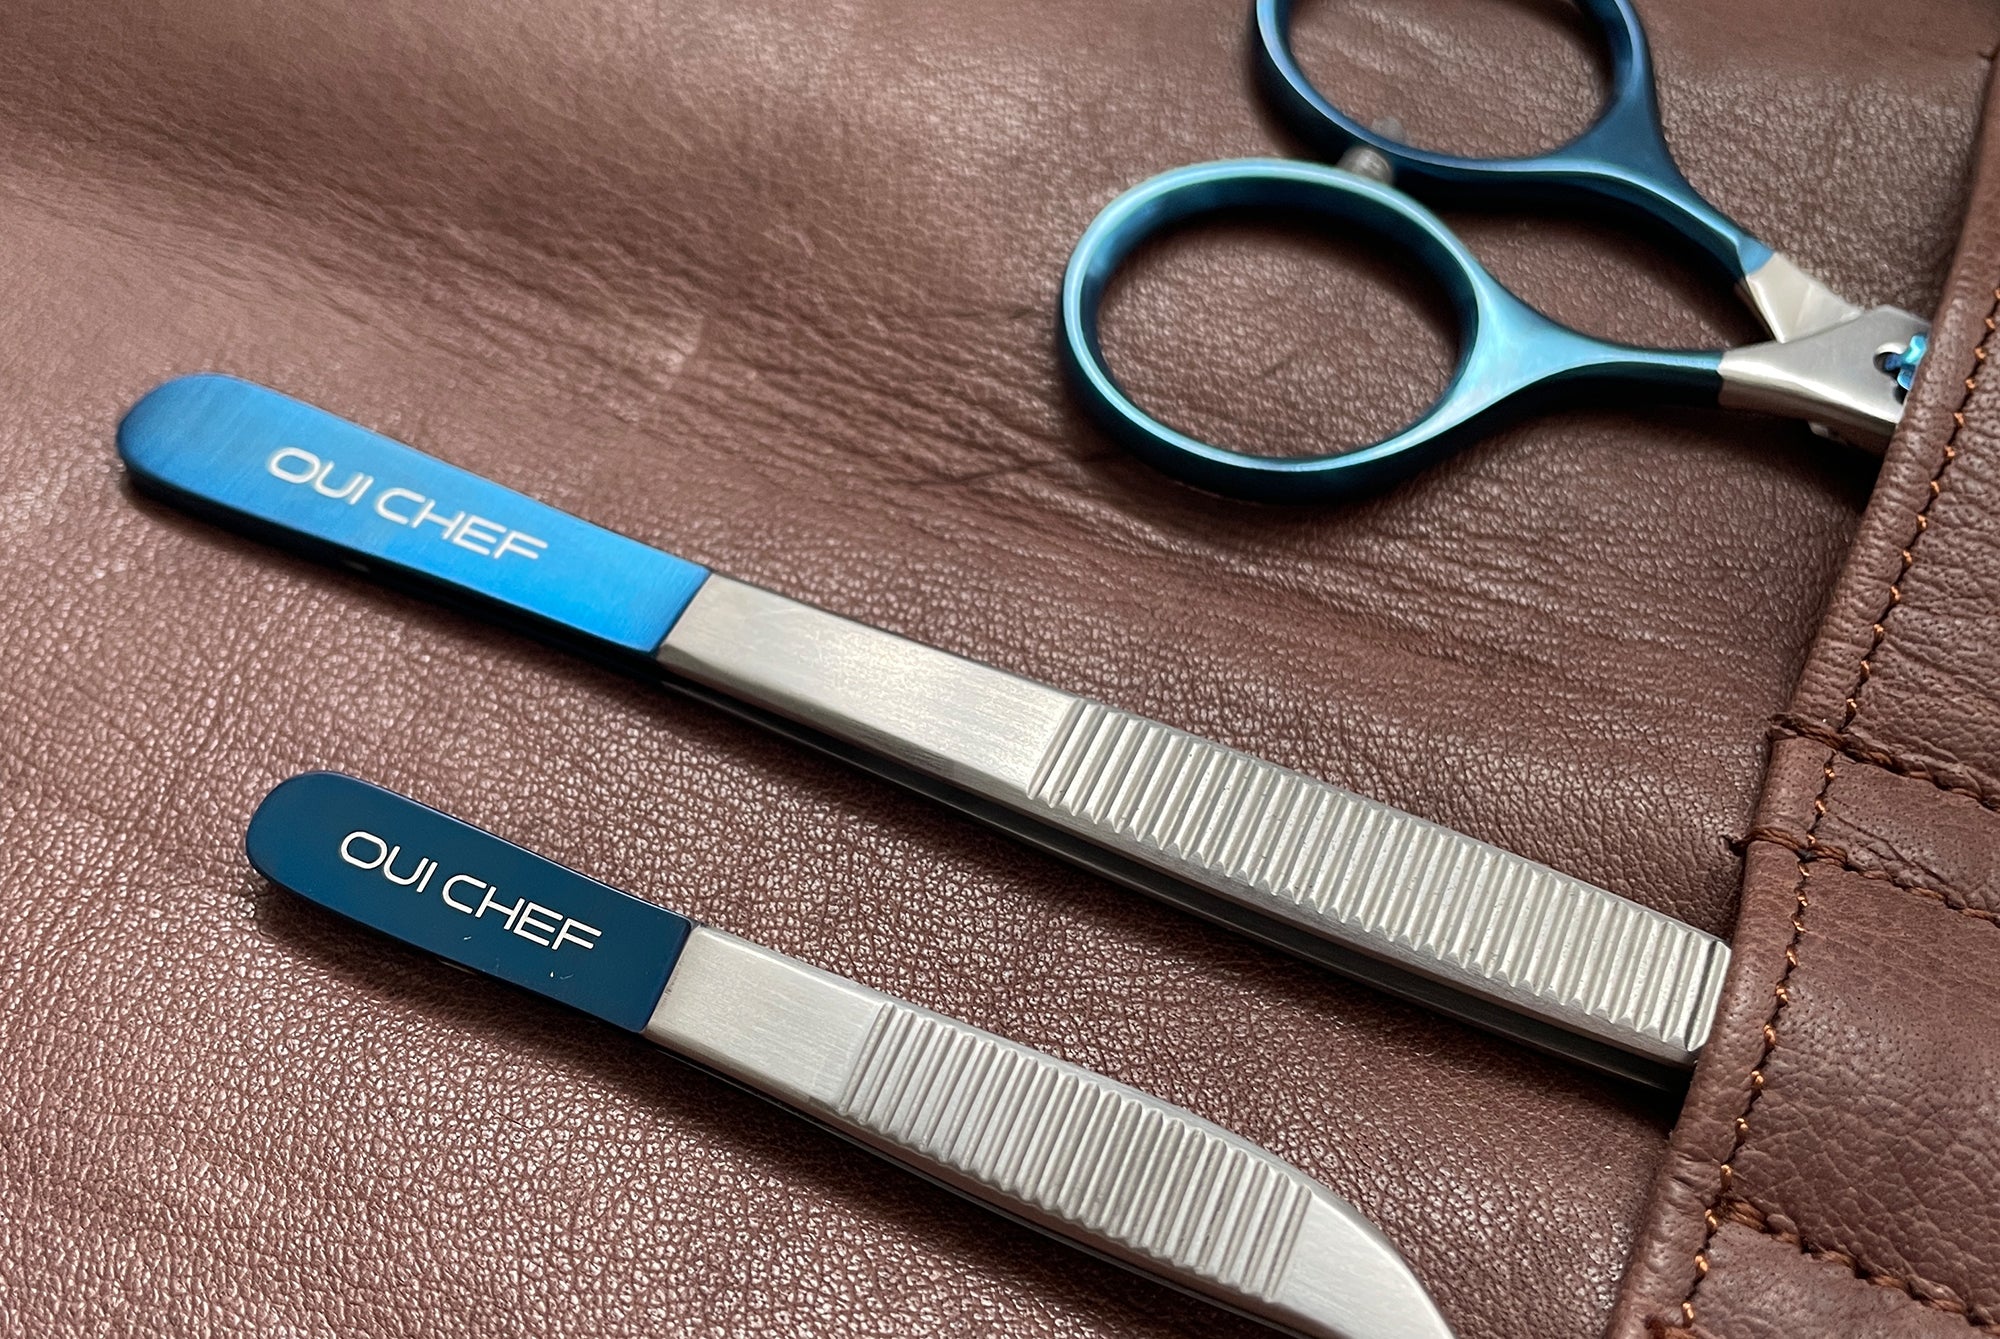
Give them their own sleeve in your knife roll. Definitely don’t fling them into a spoon bath or knife drawer. They will sit very comfortably on a magnetic knife rack.
CARE GUIDE
Super Sharp Scissors

Adjustment
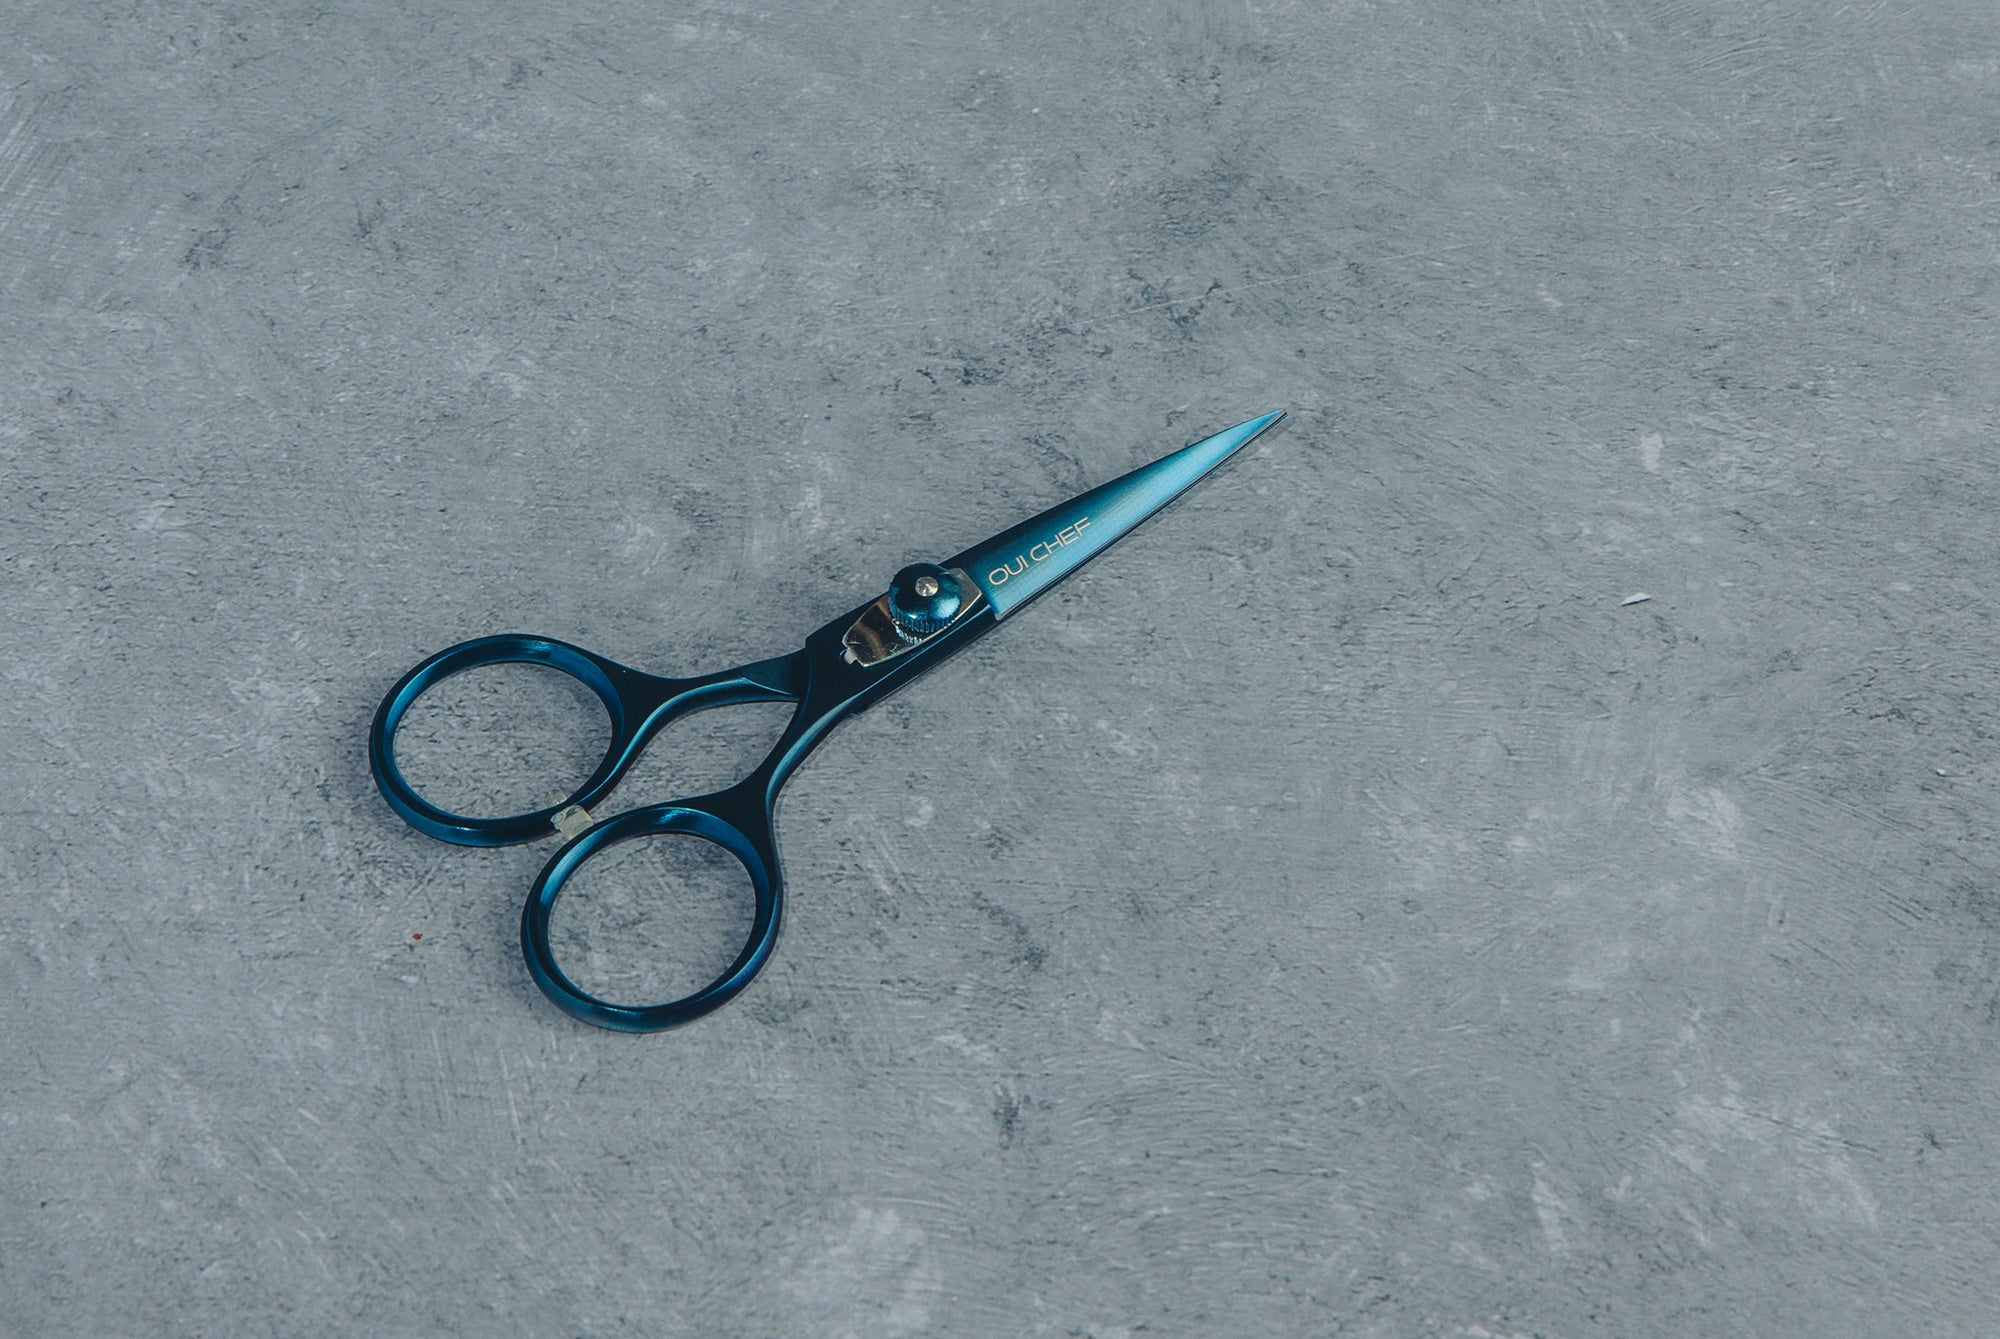
Adjust your scissors whenever they feel too tight or too loose. Proper scissor adjustment is often a matter of personal preference. However, a good rule of thumb is that when the scissors are held open with one blade at right angles to the other in the shape of a cross, the handle that is dropped will just barely move. To adjust a shear you need to tighten / loosen the adjusting screw as needed. Be cautious not to over tighten or over loosen the adjuster as this could damage the shear. Adjust the screw one click at a time until properly adjusted.
Cleaning
We always recommend gently hand-washing your scissors in soapy water, rinsing and drying thoroughly with a soft cloth. Regular cleaning will help keep the blades sharp longer.
Storage
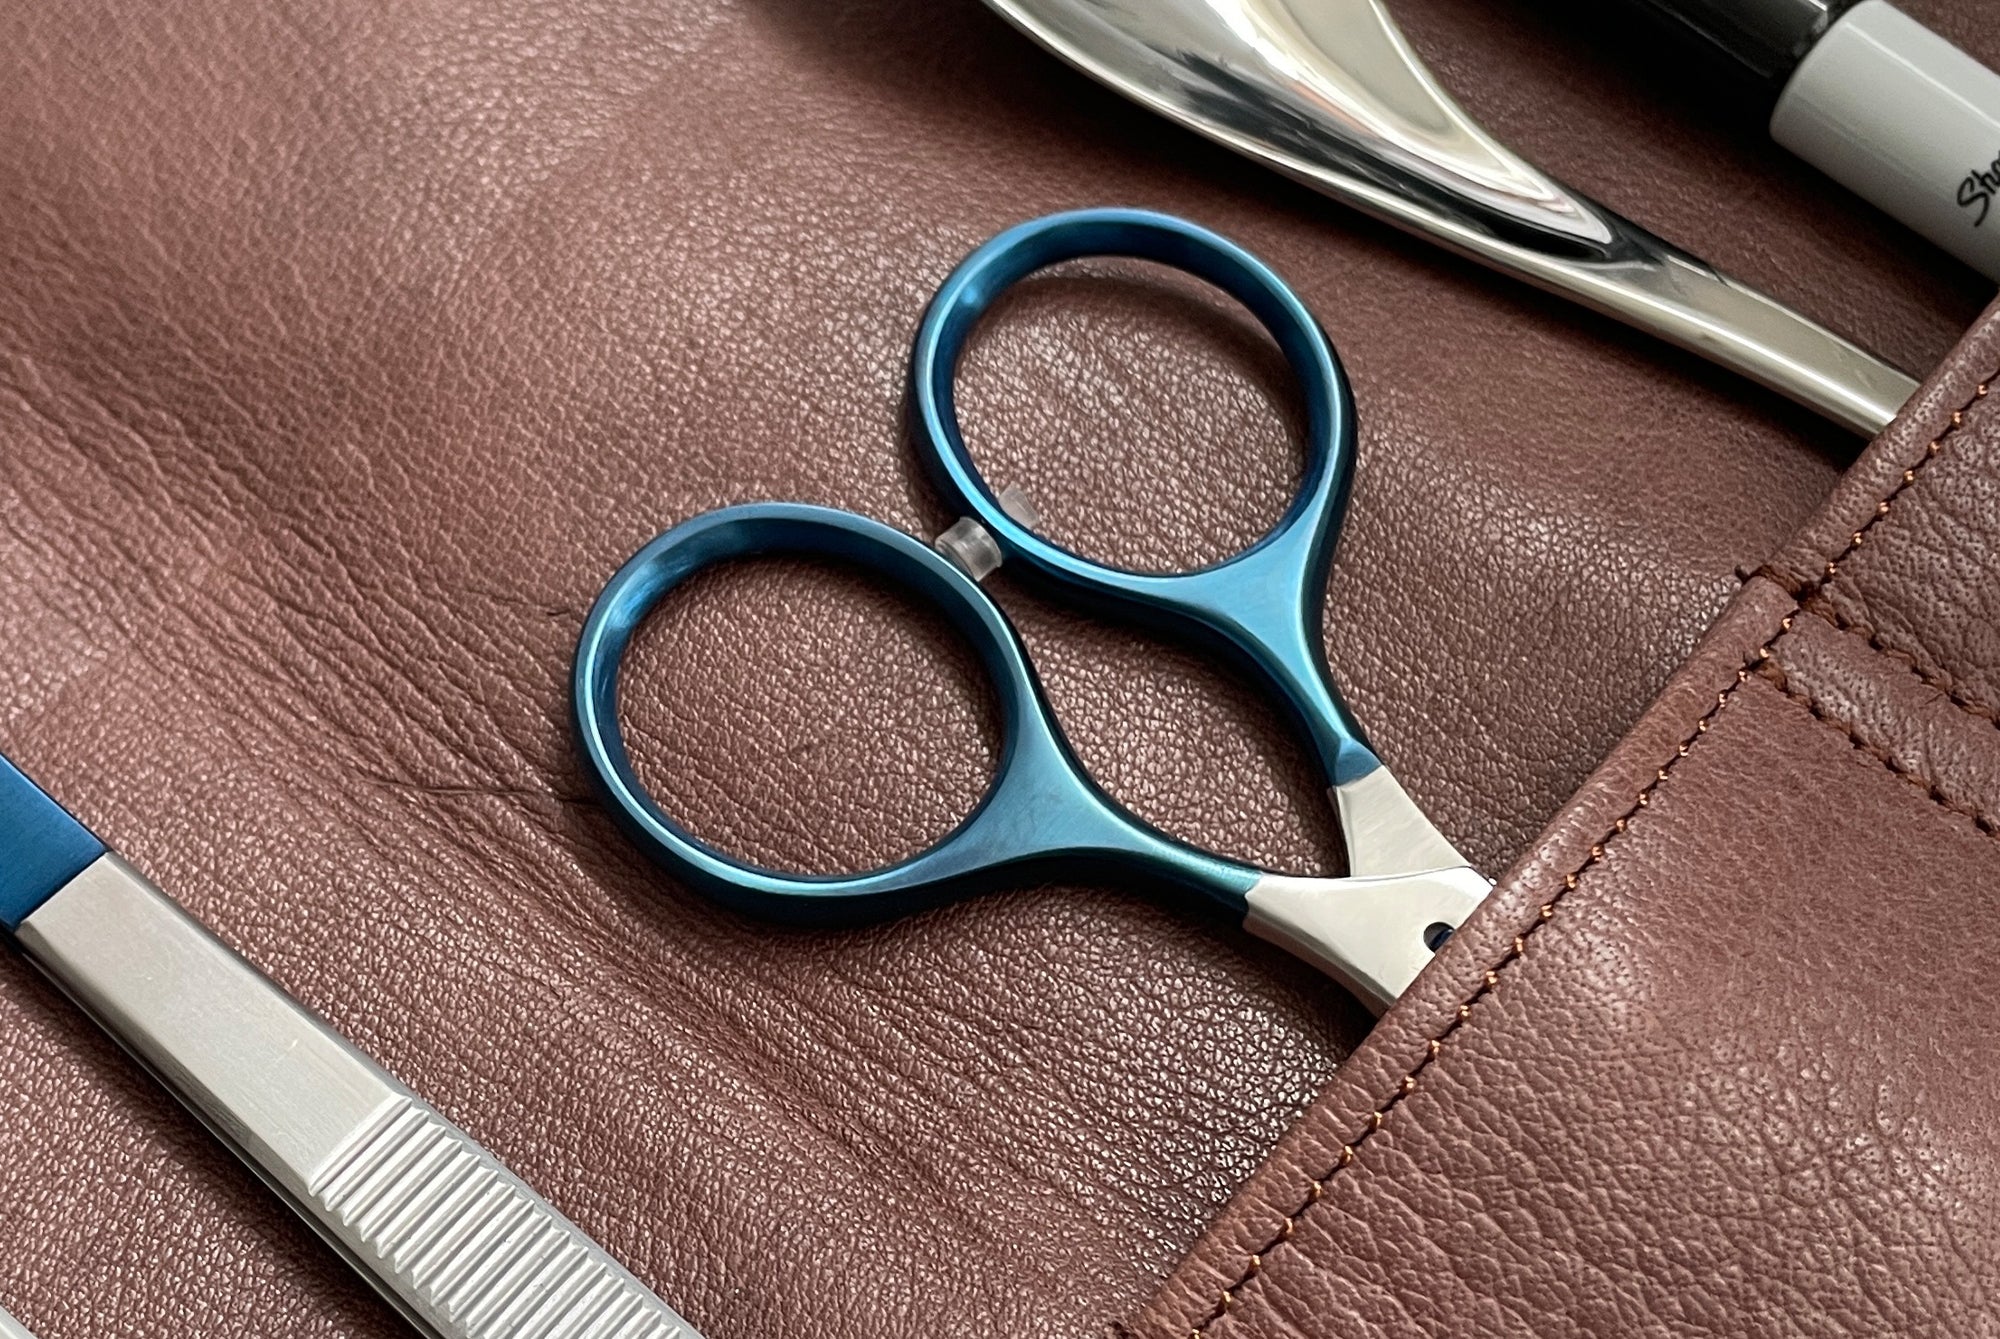
Store your scissors in a safe place when not in use. Secure and store them on a magnetic rack or knife roll where they stay safe and dry when not in use. Never toss your scissors into a drawer unprotected.
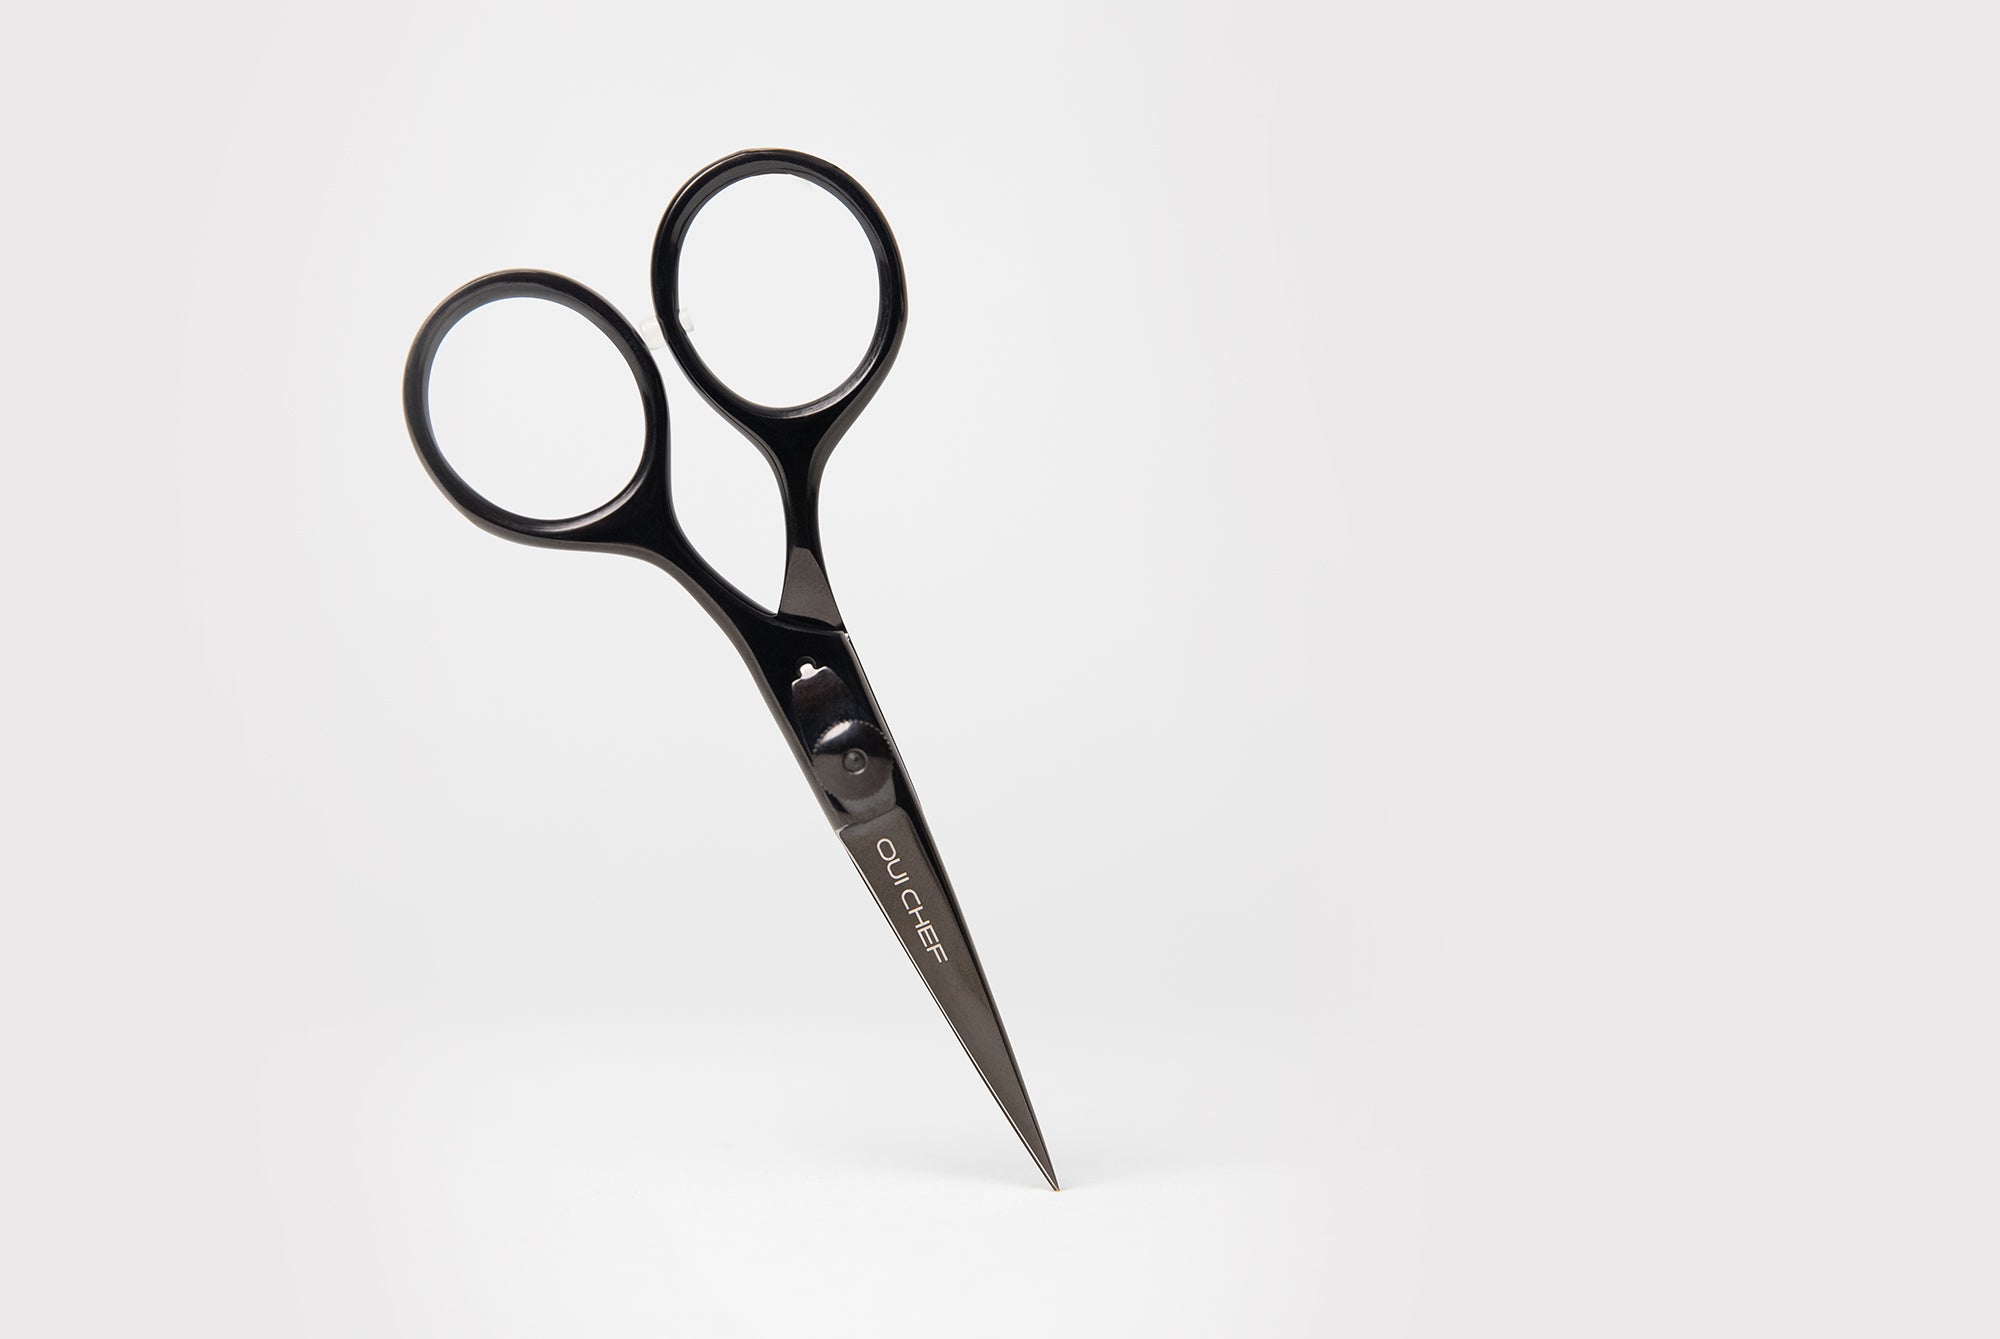
Don’t...
Don’t "pressure cut" (torque the blades together). This means squeezing harder with your thumb when the scissors start to go dull. it will cause excess wear on the scissors if you do so.
Don’t cut hard surfaces like bone (especially your own!), prawns/lobster shells etc.
Don’t lend your scissors out. Other people have different hands to you - someone else using your scissors with a hard hand will alter the scissors balance and make them feel different (They don't care for them as much as you do and might even damage them!)
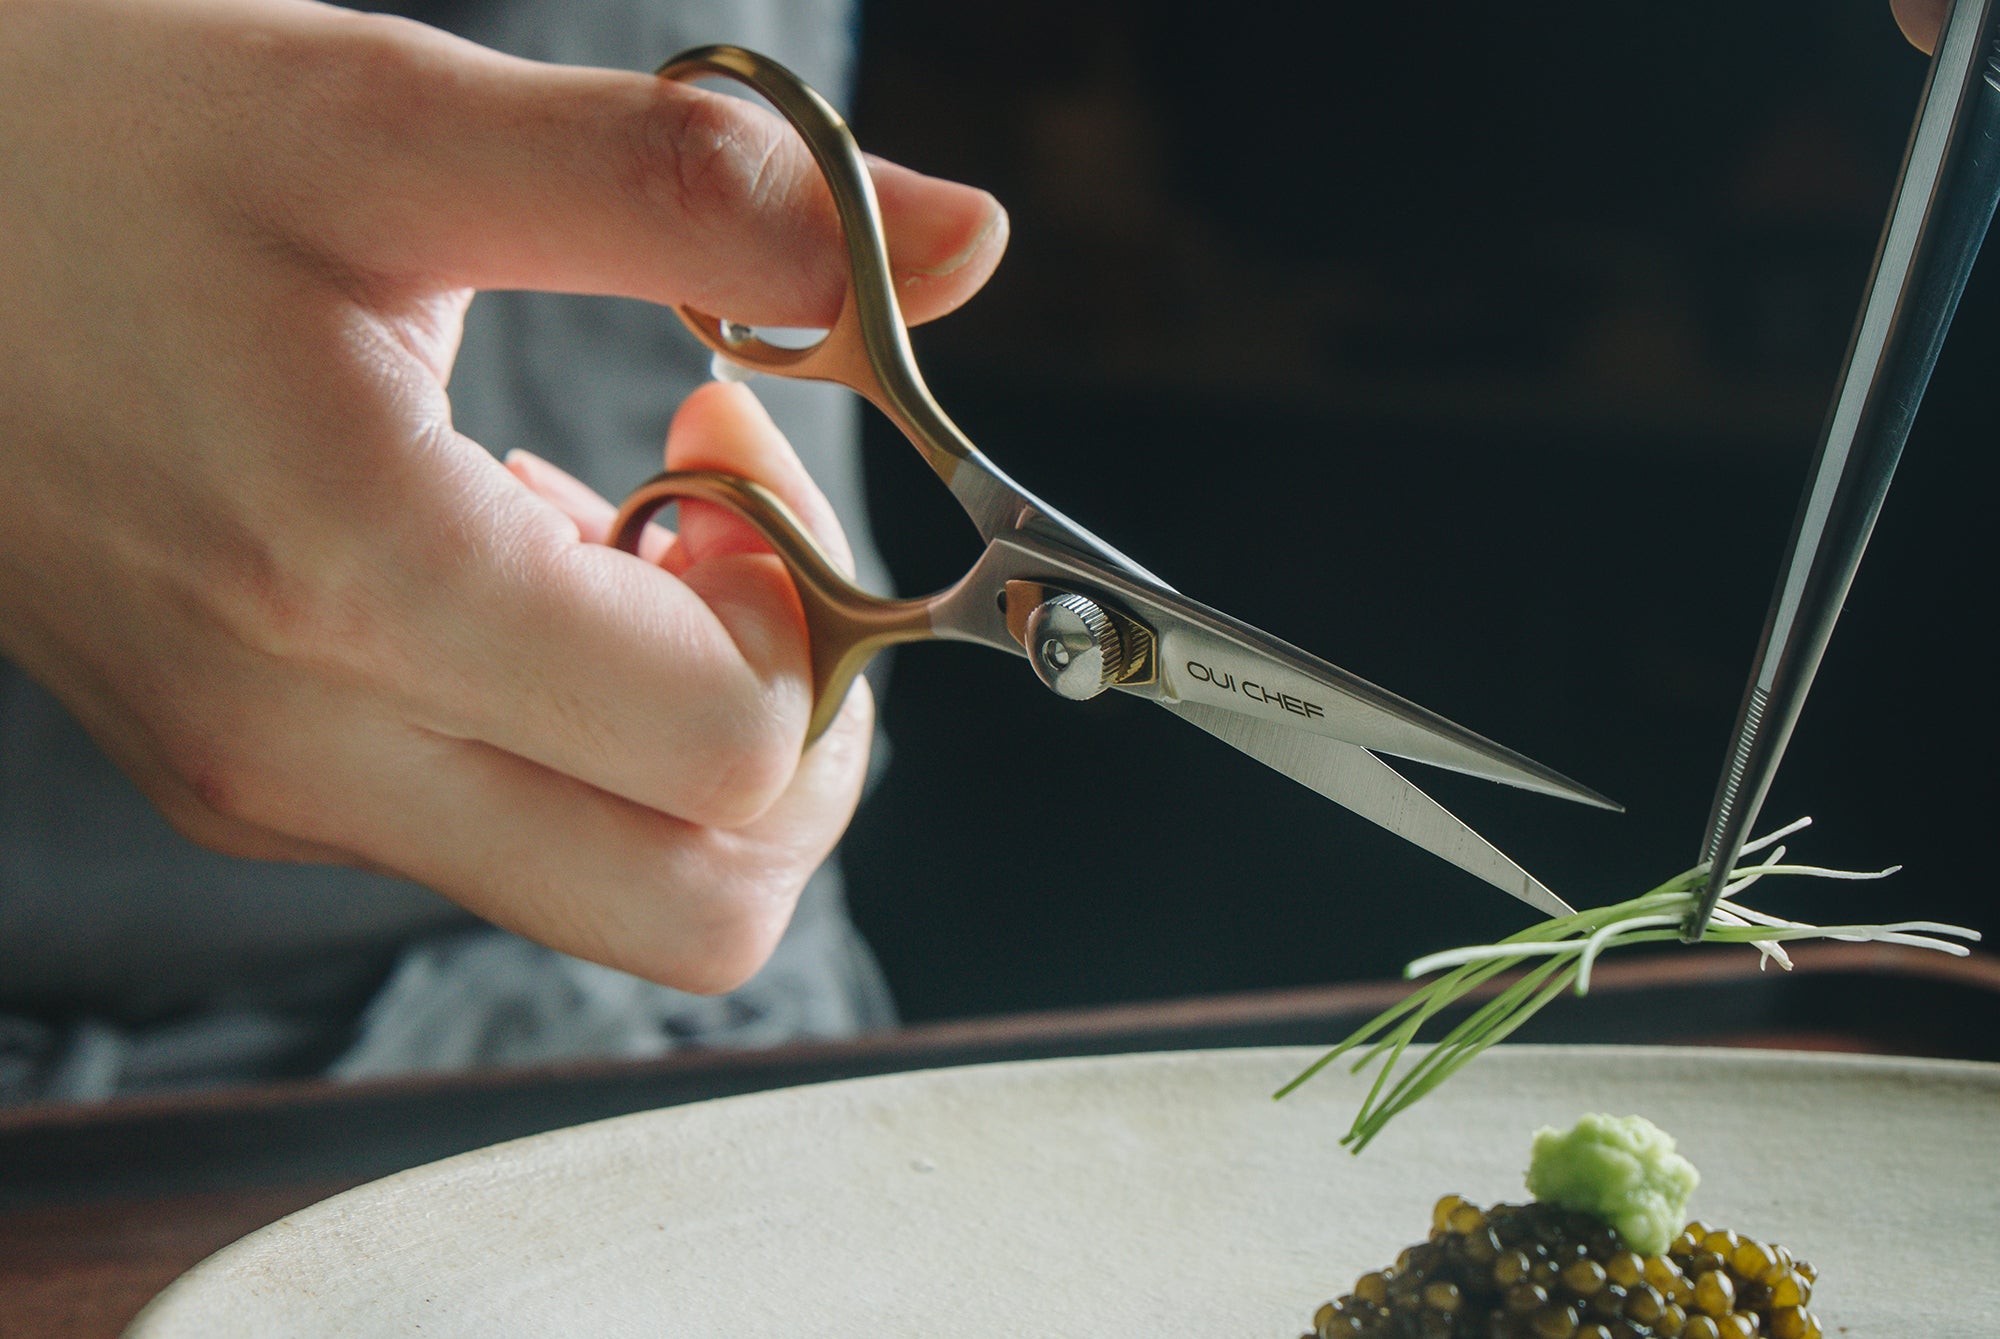
Sharpening
If your scissors aren’t cutting as well as you would like, it is probably time to sharpen the blades.
Step 1
Cutalong the full length of the blades through relatively fine thin sandpaper (400-1000) a few times until you get the desired sharpness. If you feel that the sandpaper is not achieving the desired results, you have two options:
1. Take them to a professional sharpener. Or, assuming you are comfortable sharpening knives with a Japanese whetstone, you can sharpen them yourself.
There are two terms to be familiar with:
- Bevel: The slanted edge of the blade on the outside of the scissors (as opposed to the flat side on the inside)
- Burr: the very slight rough edge (or curl) on the opposite side to the side you have just sharpened
Disassemble the scissors by fully unscrewing the adjustment wheel, taking care to note the assembly order and don’t lose the washers!
Note that you must sharpen very carefully in order to avoid removing excess coloured coating from the scissors. Then you can carefully sharpen the bevelled (outside) edge of each blade individually using your whetstone according to your preference or the manufacturer’s instructions. We generally only use the finer (4000 - 6000 polishing) side.
The flat (inside) edge does not need to be sharpened and should remain perfectly flat (once the burr has been evened out, as per below).
Each blade has a slight curve in it to ensure that the scissors cuts right to the tip. This is an indication that they are a well made high-precision tool. For this reason you will need to proceed carefully and sharpen each blade in 2 or 3 stages but the whole process shouldn’t take more than a few minutes.
Test the scissors for sharpness as you progress with the sharpening process as you don’t want to over-sharpen them.
If you get a slight burr (it should never be more than a slight burr!) on the inside of the blades, making a few cuts in a doubled over sheet of paper will remove the burr.
Good care and frequent maintenance is the key to keeping your scissors in great working order over the longer term.
OUR PROMISE
Lifetime Guarantee
Our tools are made from AISI 410 Surgical Grade Stainless Steel for added durability, so you can rest assured that no matter which tool you choose, it's guaranteed to last a lifetime.*
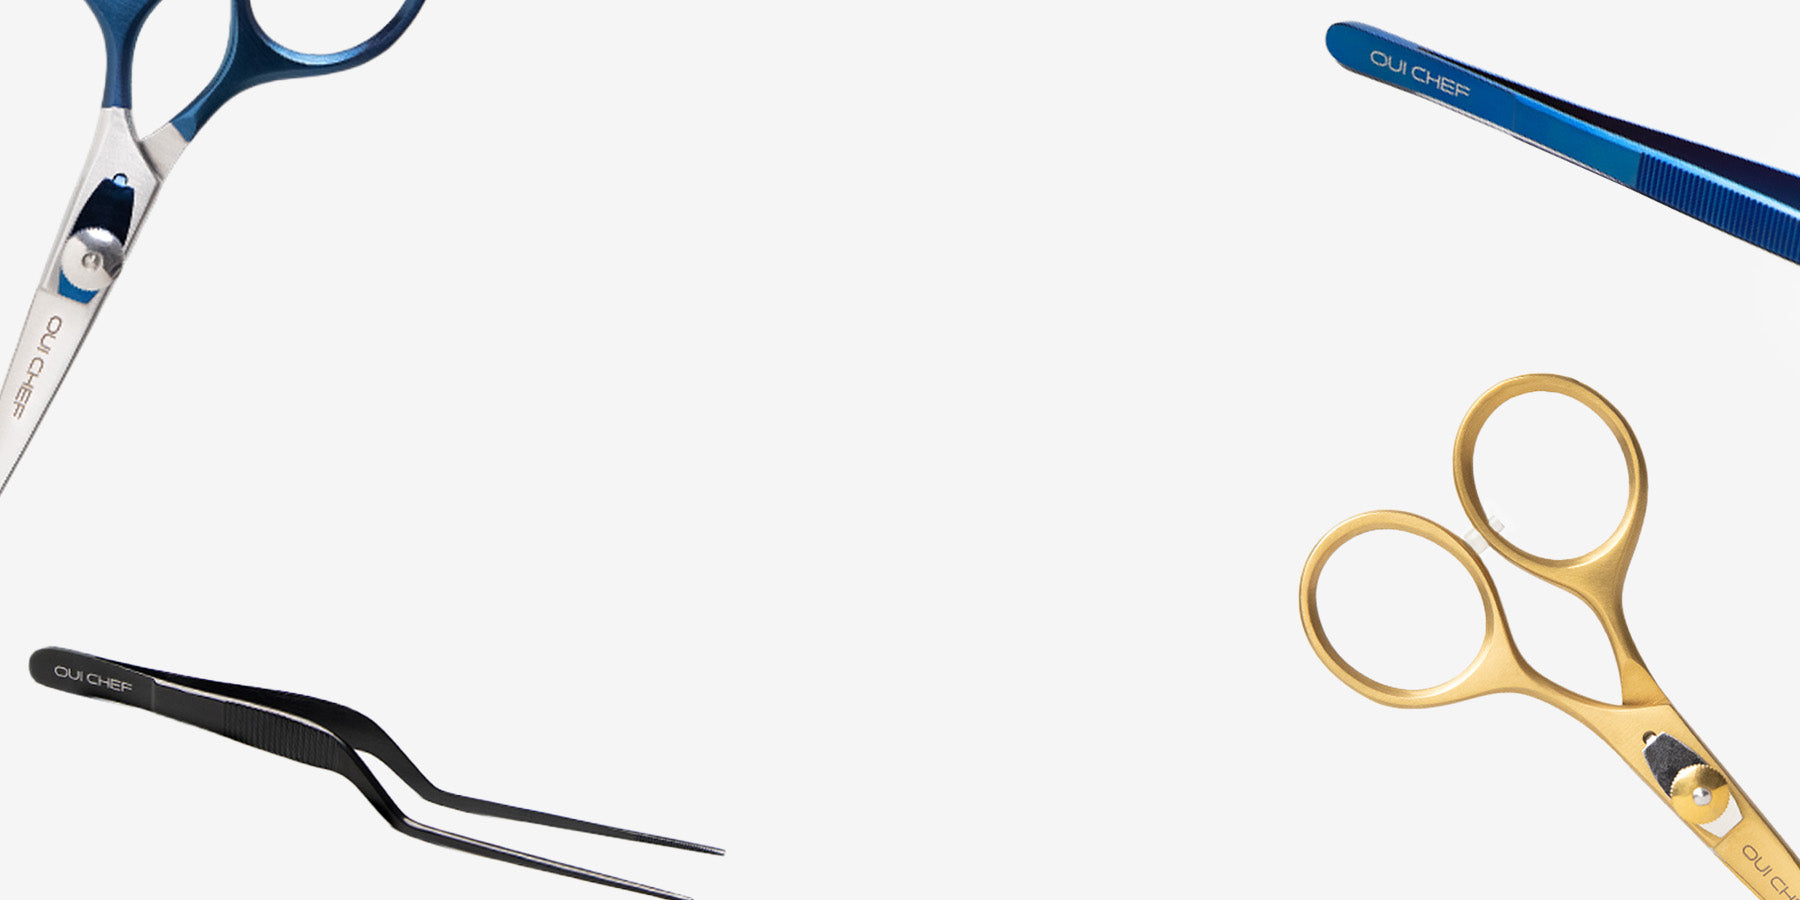
OUI CHEF ESSENTIALS
Shop Individual items
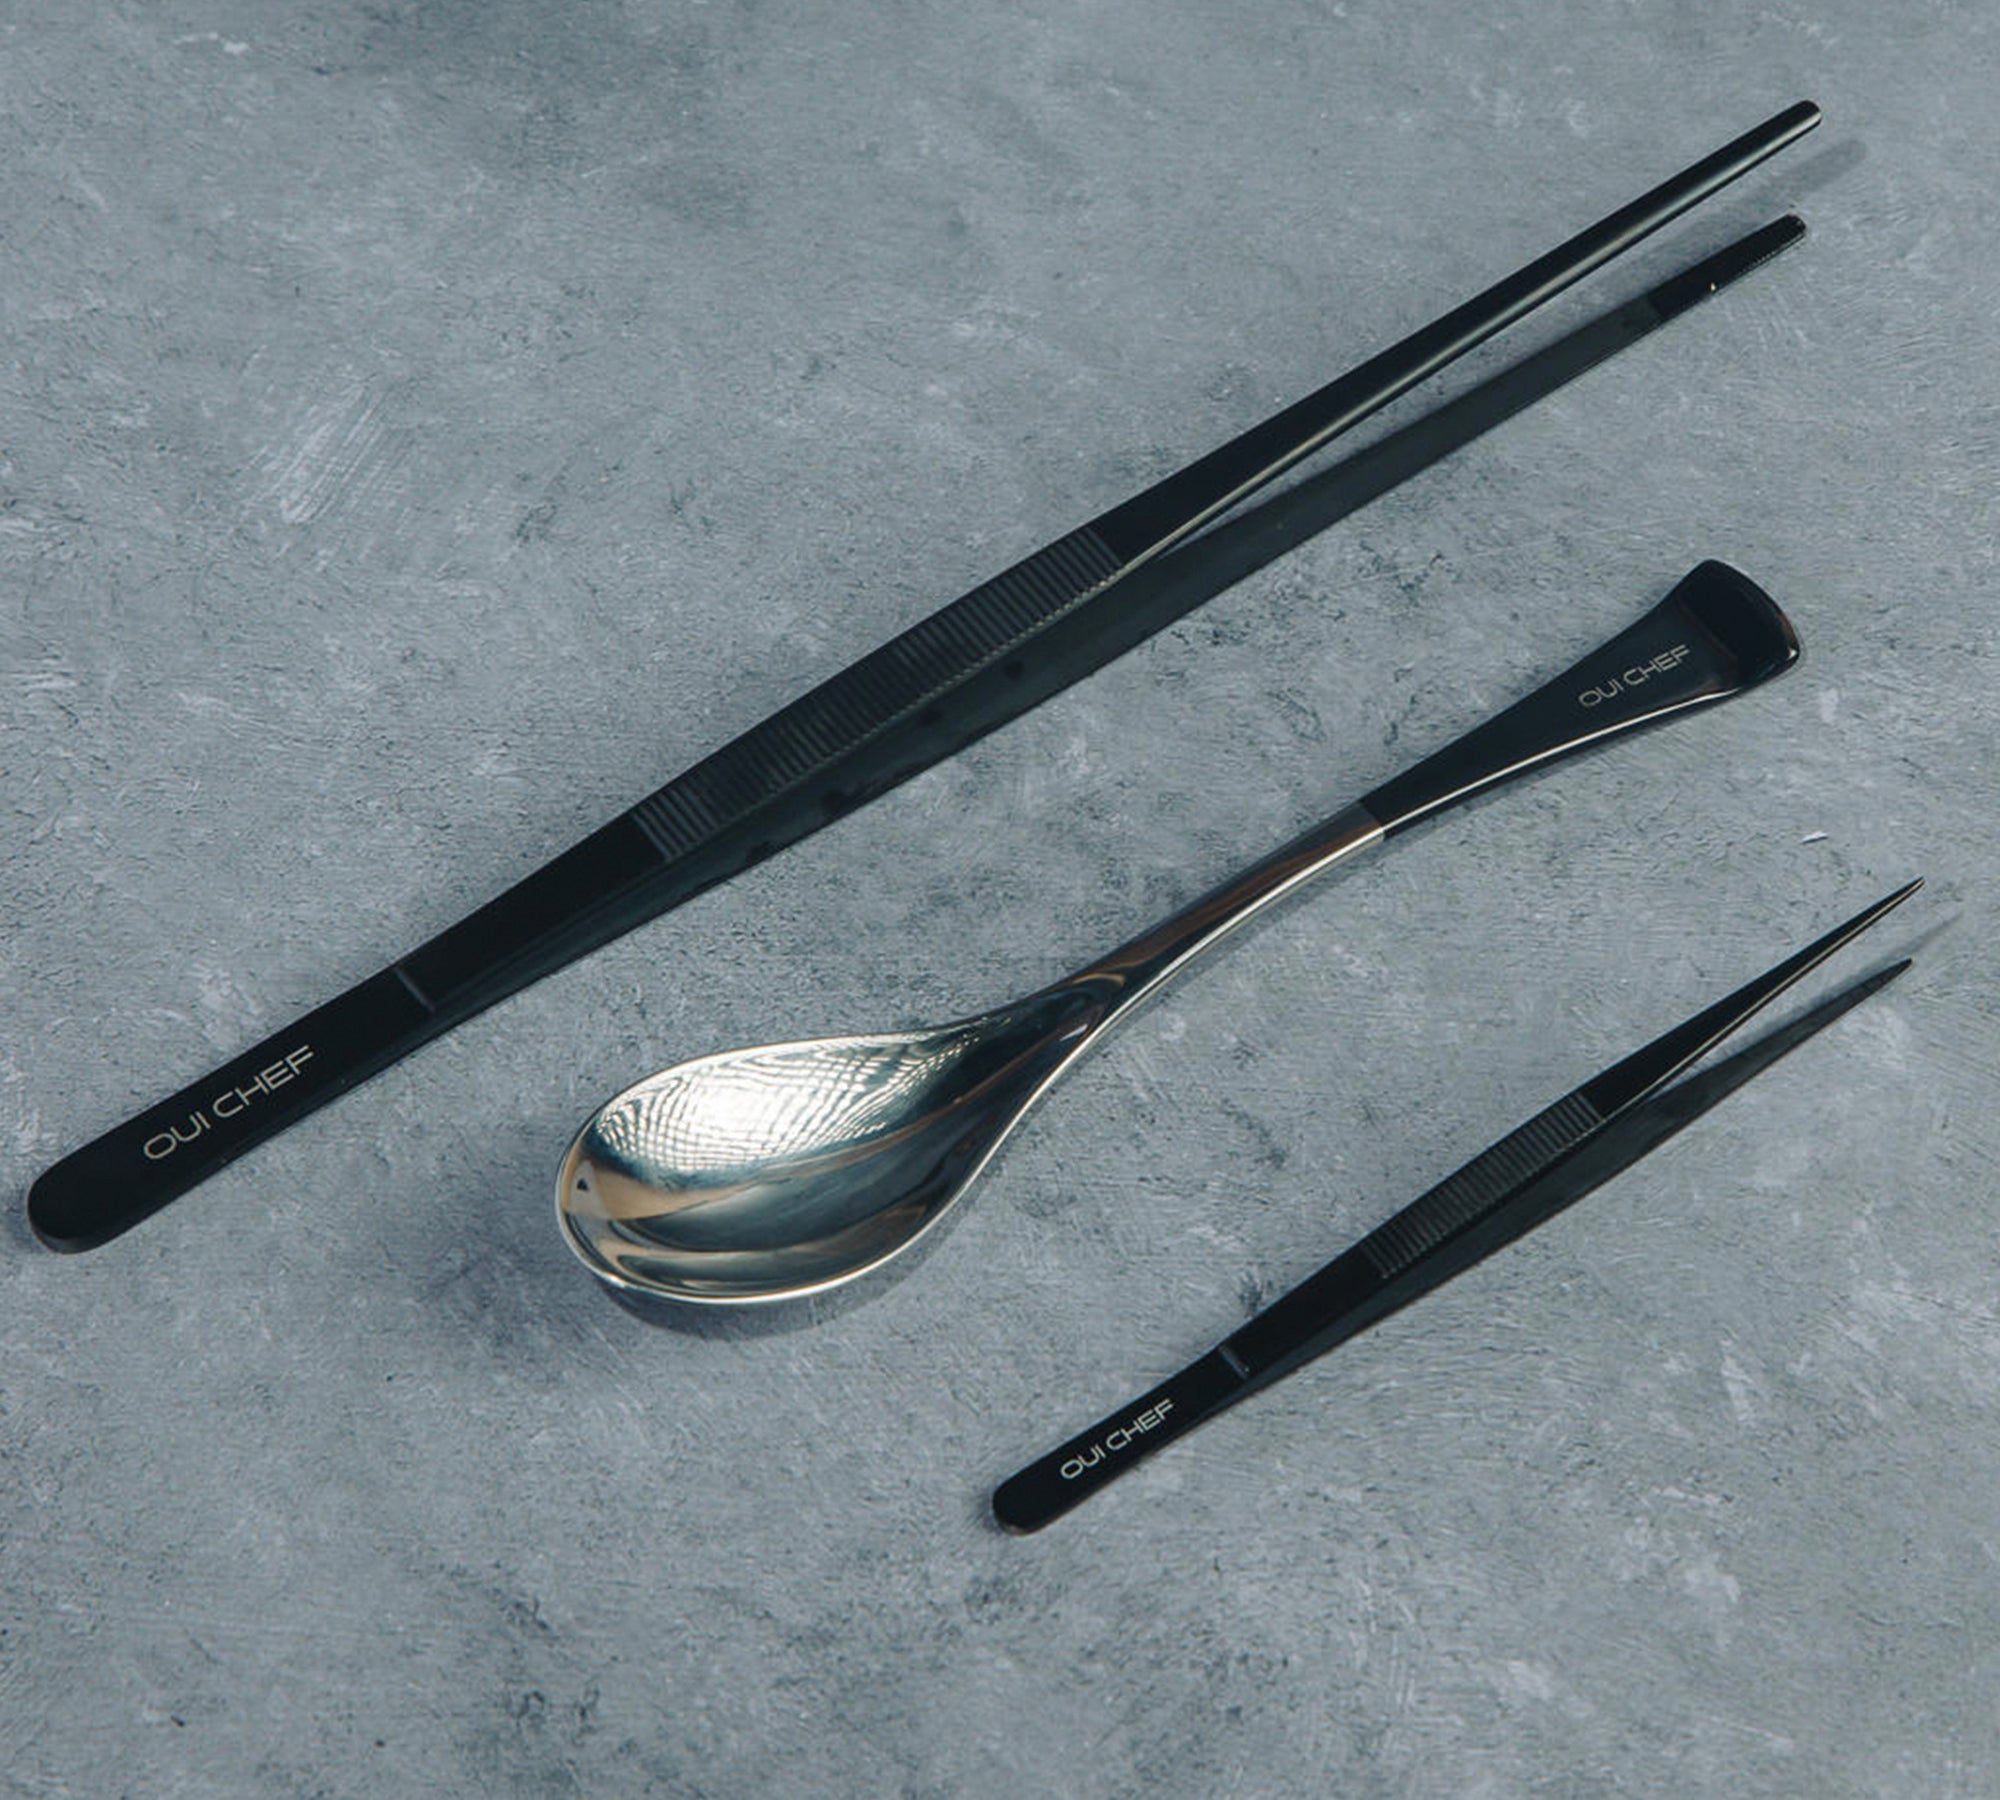
OUI CHEF KITS
Shop Essential Kits
Join Our Newsletter
Promotions, new products and sales. Directly to your inbox.

